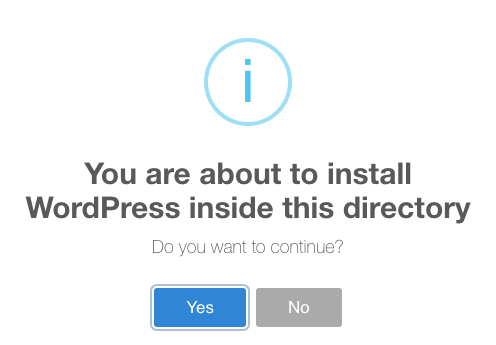
With Instant IDE you can install the latest version of WordPress by simply right-clicking the folder in which you’d like to install it and then selecting “Install WordPress”. Instant IDE will present you with a pop-up to confirm the WordPress installation in the specified folder, giving you an opportunity to either confirm or cancel the operation. This means that if you’d like to install WordPress in a sub-folder you can, but if you’d like to install it at the root of your file-system you’d simply right-click the top-most folder in the file-tree browser and then left-click “Install WordPress”.

Once installed you can then right-click the folder in question and select “Preview Folder” to pop-up the Site Preview feature in the directory you’ve selected, allowing you to then run through the WordPress Installation process (assuming that the folder in question does in fact have the WordPress files present.
Please note that Instant IDE does not take care of the database setup for WP installs so you’d still need to do that yourself. Instant IDE simply grabs the latest WordPress files from WordPress.org and places then in the directory you’ve specified.


